


Pași esențiali pentru curățarea unui Blender de mare viteză După fiecare utilizare
Clătiți imediat pentru a preveni acumularea de reziduuri
Clătirea imediată a blenderului cu viteză mare după utilizare este esențială pentru a preveni întărirea particulelor de alimente, ceea ce poate complica curățarea ulterioară. După amestecare, mai ales a produselor lipicioase precum smoothiurile sau untul de nuci, o clătire rapidă cu apă caldă va asigura faptul că reziduurile nu au timp să se adere la recipient, facilitând astfel o curățare completă. Încercați să efectuați acest pas în termen de 30 de minute de la utilizare pentru rezultate optime, deoarece cu cât așteptați mai mult, cu atât reziduurile se vor întări mai tare, complicând procedura de curățare și afectând potențial performanța blenderului.
Utilizați apă caldă și detergent de vase pentru o curățare rapidă
Pentru a curăța eficient un blender și a îndepărta grăsimea și resturile, amestecarea apei calde cu câteva picături de detergent pentru vase creează o soluție eficientă. Turnați amestecul în blender, fixați capacul și activați aparatul la o viteză scăzută timp de aproximativ 30 de secunde. Această metodă permite să circule detergentul în mod egal, descompunând uleiurile și particulele de alimente. După ce ați terminat de amestecat, asigurați-vă că clătiți recipientul temeinic pentru a îndepărta orice reziduu de detergent, deoarece acesta poate modifica gustul și textura preparatelor viitoare. Curățarea regulată prin această metodă asigură că blenderul dumneavoastră rămâne proaspăt, funcțional și gata de fiecare utilizare.
Activați Ciclul de Autocurățare (dacă este disponibil)
Dacă blenderul dvs. de mare viteză este echipat cu un ciclu de auto-curățare, utilizarea acestei funcții poate economisi timp și efort în timpul întreținerii. Prin consultarea instrucțiunilor producătorului, utilizatorii pot activa acest ciclu, care circulă soluții de curățare în mod eficient prin întregul blender, ajungând în zonele pe care le-ar putea omite o curățare manuală. Utilizarea regulată a ciclului de auto-curățare reduce necesitatea unor eforturi extensive de curățare manuală, menținând blenderul într-o stare excelentă și asigurând o igienă maximă. Această funcție nu doar că păstrează performanța aparatului, ci îi prelungește și durata de viață, oferind comoditate în utilizarea zilnică.
Gătirea unor amestecuri lipicioase, cum ar fi untul de nuci sau hummus-ul
Pentru a face față amestecurilor lipicioase, cum ar fi untul de nuci sau hummus-ul, este o provocare pentru orice mașină de măcinat alimente. Aceste substanțe tind să adere încăpățânat de pereții recipientului, făcând curățarea mai dificilă. Începeți prin a scăpa pereții blenderului cu o spatulă de silicon pentru a îndepărta cât mai multă reziduu posibil. Apoi, umpleți blenderul cu apă caldă și săpun și lăsați-l să se înmoaie câteva minute. Această înmuiere preliminară ajută la slăbirea reziduurilor persistente, facilitând curățarea ulterioară. Dacă este necesar, folosiți spatula pentru a ajunge la locurile greu accesibile, asigurându-vă că nu se produce niciun fel de deteriorare a blenderului în timpul procesului. Adoptarea unor astfel de tehnici poate simplifica considerabil sarcina de a curăța blenderul din restaurant, menținându-i eficiența și durata de utilizare.
Curățare în siguranță cu unelte neabrazive
Proper tools are essential when cleaning a smoothie machine commercial fără a afecta integritatea acestuia. Săpunurile sau periuțele neabrazive sunt alegeri ideale pentru a preveni zgârieturile care pot reține bacterii, menținând în același timp suprafața netedă a blenderului dumneavoastră. Este esențial să utilizați peri moi sau tampoane, în special în jurul lamei și alte zone sensibile. Curățând regulat cu instrumente concepute pentru o curățare sigură a blenderului, veți asigura atât calitatea estetică, cât și funcțională a acestuia blender automat sunt păstrate. Această abordare minimizează riscul de zgârieturi și asigură că blenderul dumneavoastră rămâne într-o stare optimă pentru sarcinile de mixare.
Îmuierea cu apă caldă pentru depuneri persistente
Pentru îndepărtarea reziduurilor dificile, în special după procesarea unor ingrediente dense sau lipicioase, îmbibarea cu apă caldă poate fi o strategie foarte eficientă. Umpleți-vă mașina comercială de smoothie cu apă caldă și lăsați-l să se înmoaie timp de aproximativ 20-30 de minute. Acest proces desprinde orice depuneri, facilitând curățarea prin frecare. Pentru a spori eficiența înmuierii, puteți adăuga o cantitate mică de oțet sau bicarbonat de sodiu. Aceste ingrediente ajută la descompunerea reziduurilor mai eficient, permițându-vă să curățați blenderul cu mai mare ușurință. Prin integrarea etapei de înmuiere în rutina dvs. de curățare, puteți menține un blender de înaltă viteză curat și prelungi durata sa de utilizare.
Îndepărtarea aspectului mat și a depunerilor minerale
Soluție cu oțet pentru recipiente matificate
Când recipientul blenderului dvs. dezvoltă o aparență estompată din cauza depunerilor minerale provenite din apa calcaroasă, o soluție simplă cu oțet poate fi un remediu eficient. Amestecând cantități egale de apă și oțet alb, creați o soluție naturală care dizolvă eficient aceste depuneri. Umpleți recipientul blenderului cu această soluție și lăsați-l să stea timp de aproximativ 30 de minute. Acest lucru permite oțetului să descompună acumularea minerală. După perioada de înmuiere, asigurați-vă că clătiți recipientul temeinic cu apă curată. Această metodă este nu doar eficientă, ci și fără substanțe chimice, ceea ce o face potrivită pentru toate tipurile de blendeuri.
Pastă de bicarbonat de sodiu pentru petele persistente
Pentru persoanele care se confruntă cu pete mai persistente, o pastă din bicarbonat de sodiu ar putea fi soluția. Bicarbonatul de sodiu, cunoscut pentru proprietățile sale abrasive naturale și caracterul său alcalin, poate combate eficient discolorările dificile. Pur și simplu amestecați bicarbonat de sodiu cu o cantitate mică de apă pentru a crea o pastă groasă, apoi aplicați-o direct pe zonele vopsite ale recipientului blenderului. Lăsați pasta să acționeze timp de aproximativ 30 de minute pentru a elimina discolorarea. După expirarea acestui timp, curățați ușor zona cu o lavetă non-abrazivă. Acest proces nu doar curăță, ci și dezodorizează recipientul, lăsându-l proaspăt și fără pete.
Metoda Oxi-Clean pentru discolorări severe
Pentru decolorarea severă, mai ales atunci când metodele obișnuite de curățare nu sunt eficiente, Oxi-Clean poate fi o soluție puternică, cu condiția să fie utilizat în conformitate cu instrucțiunile producătorului. Pentru a utiliza această metodă, dizolvați o lingură de Oxi-Clean în apă caldă și lăsați piesele blenderului să se înmoaie timp de câteva ore. Acest lucru permite agenților de curățare să pătrundă profund, eliminând eficient decolorarea. După acest proces de înmuiere, este esențial să clătiți toate piesele temeinic pentru a elimina orice reziduu chimic. Această metodă oferă o abordare eficientă pentru redarea aspectului inițial al blenderului, mai ales după tratarea petelor persistente.
Evitarea greșelilor comune la curățarea blenderului
De ce mașinile de spălat vasele deteriorează blenderurile de mare viteză
Mașinile de spălat vasele pot părea o opțiune convenabilă de curățare, dar pot deteriora grav blenderurile de mare viteză . Majoritatea blenderurile de mare viteză , cum ar fi cele utilizate pentru sarcini solicitante, cum este prepararea smoothiurilor, au componente care nu sunt concepute pentru căldura intensă a mașinii de spălat vase. Această căldură poate deforma sau deteriora componentele esențiale, compromițând funcționalitatea dispozitivelor care trebuie să reziste la sarcini intensive de mixare regulate. În plus, mașina de spălat vase poate face ca lamele să-și piardă ascuțimea, reducând eficacitatea acestora în timp. Prin urmare, este esențial să urmați instrucțiunile producătorului referitoare la componentele care pot fi spălate în mașină, pentru a asigura durabilitatea și performanța blenderului dumneavoastră.
Evitați frecarea intensă pentru a păstra recipientul
Menținerea în bună stare a recipientului blenderului este esențială pentru durabilitatea și performanța acestuia. Materialele dure de frecare pot provoca zgârieturi, care pot duce la tulburarea aspectului și la dezvoltarea bacteriilor în interiorul blenderului, în special la dispozitivele utilizate frecvent în medii comerciale precum mașini comerciale pentru smoothie . Pentru a evita acest lucru, utilizați bureți sau perii moi pentru curățare. Această metodă delicată nu doar că păstrează aspectul estetic al blenderului, dar asigură și faptul că rămâne în stare optimă de funcționare, esențial pentru obținerea unor rezultate constante în prepararea alimentelor.
Nu imersați baza motorului
Păstrarea bazei motorului blenderului uscate este esențială pentru durabilitatea acestuia. Imersarea bazei motorului în apă poate provoca deteriorări semnificative, ducând la reparații costisitoare sau chiar la necesitatea înlocuirii. Pentru a curăța această parte a blenderului în siguranță, folosiți o cârpă umedă pentru ștergere, evitând expunerea directă și excesivă la umiditate. Această practică este esențială pentru menținerea funcționalității blenderului și pentru prevenirea pericolelor electrice. Astfel de măsuri de siguranță sunt indispensabile pentru orice dispozitiv, fie că este utilizat într-o bucătărie domestică sau pentru aplicații mai intense, cum ar fi un blender de restaurant.
Sfaturi de întreținere pentru a prelungi durata de viață a blenderului
Uscarea completă a componentelor pentru a preveni formarea mucegaiului
Asigurați-vă că toate componentele blenderului sunt complet uscate după curățare este esențial pentru a preveni apariția mucegaiului și a mirosurilor neplăcute. Atunci când piesele rămân umede, nu doar că pot cauza mirosuri neplăcute, ci pot constitui și riscuri pentru sănătate. Usucarea la aer sau utilizarea unei cârpe pentru a accelera procesul de uscare poate reduce semnificativ aceste probleme. Este un pas simplu, dar eficient, pentru a menține blenderul curat și pentru a-i asigura funcționarea optimă în timp.
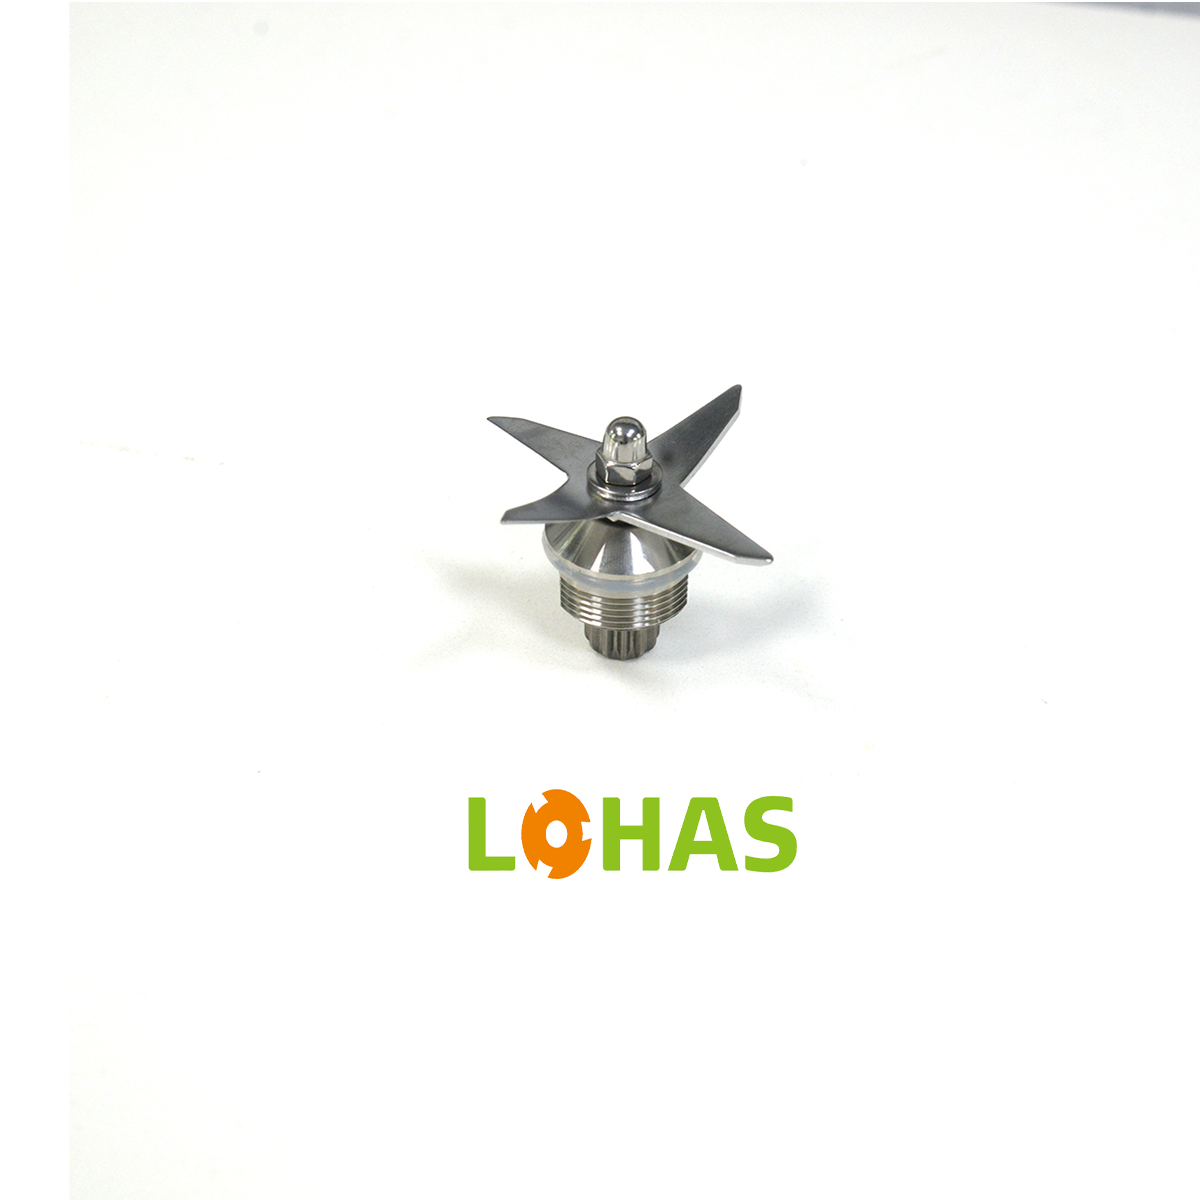
Inspecția periodică a asamblului lamei
Inspecția regulată a asamblului lamei blenderului este esențială pentru menținerea performanței acestuia. Verificați dacă există semne de uzură, cum ar fi cioburi sau lama obtuză, care ar putea împiedica eficiența procesului de mixare. De asemenea, aveți grijă să observați eventualele crăpături sau daune ale recipientului sau bazei blenderului, deoarece acestea pot indica necesitatea înlocuirii pentru a preveni disfuncțiile ulterioare. Abordarea proactivă a acestor probleme asigură funcționalitatea și siguranța pe termen lung a blenderului, evitând astfel reparații costisitoare.
Depozitarea corectă pentru a evita mirosurile neplăcute
Depozitarea corectă a blenderului este un alt pas esențial de întreținere pentru a preveni mirosurile mucegăite. Păstrați blenderul cu vasul detașat de bază, permițând circulația aerului. Acest gest simplu ajută la evitarea mirosurilor mucegăite care pot apărea atunci când componentele sunt păstrate necorespunzător. În plus, plasarea unei cutii mici cu bicarbonat de sodiu în zona de depozitare este o metodă excelentă de a absorbi orice mirosuri neplăcute persistente, asigurându-vă că blenderul rămâne proaspăt și gata de utilizare.
Cuprins
- Pași esențiali pentru curățarea unui Blender de mare viteză După fiecare utilizare
- Gătirea unor amestecuri lipicioase, cum ar fi untul de nuci sau hummus-ul
- Curățare în siguranță cu unelte neabrazive
- Îmuierea cu apă caldă pentru depuneri persistente
- Îndepărtarea aspectului mat și a depunerilor minerale
- Evitarea greșelilor comune la curățarea blenderului
- Sfaturi de întreținere pentru a prelungi durata de viață a blenderului